THE JOURNAL

Photographs by Ms Polly Glass
Don’t let bad packaging ruin the perfect gift. Here’s how win any wrap battle.
Unlike most other things in life, when it comes to gifts it’s what’s on the outside that counts. Gone are the days when handing over something cloaked in a £1 roll of gaudy wrapping paper from a street stall will be deemed “acceptable.” No, no, no. It’s the 21st century: take it from us that your loved ones are probably expecting something a little bit more Instagrammable this Christmas.
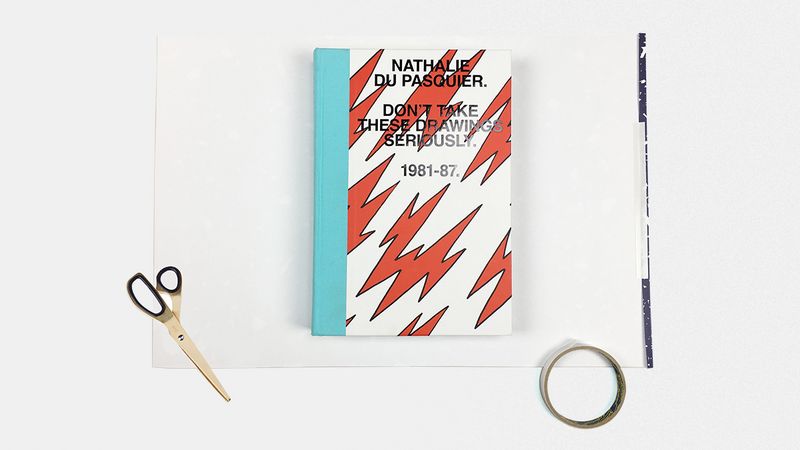
Don’t be nervous – there is no shame in taking joy in paper, ribbons, stickers and “bone folders”. In fact, the unique satisfaction of perfectly wrapping a present is akin to that of carrying off labour-intensive dinner recipe, or even, perhaps, nailing a tie dimple. But how do you do it?
To help guide us through the art of perfectly wrapping a gift, we have enlisted Ms Polly Glass, the co-founder of Wrap Magazine. This aesthetically pleasing biannual publication celebrates “contemporary illustrated living”, and each issue features exclusively commissioned illustrated pages that double up as tear-out-able wrapping paper. Scroll down for Ms Glass’s five-step guide.

01.
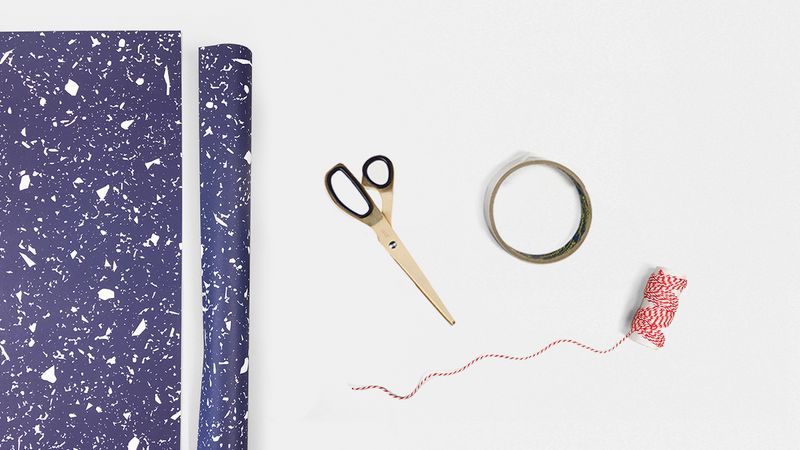
First things first, be sure to stock up on some essential tools and materials to help you on your merry wrapping way. A sharp pair of scissors, double-sided sticky tape (ideally on a dispenser), a long ruler for cutting straight lengths of paper, stylish wrapping paper (of course!) and some fun finishing touches will suffice. Plus, be sure you wrap on a hard flat surface and not on the carpet, to avoid your paper wrinkling up.

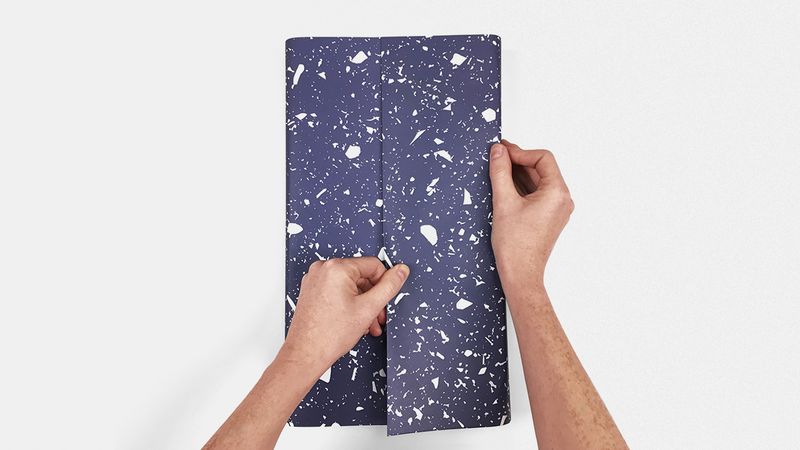
02.
Measure how much paper you’re going to need, and trim away any excess – it’s important to do this as having too much paper will lead to bulky corners and a messy result. You’ll need enough to wrap around the middle of your present, plus about 5cm extra to create the overlap; lengthways, your gift should take up three quarters of the paper. Then carefully fold and crease a 1cm flap along one of the long edges and apply a strip of tape – this should overlap the flap and the paper.

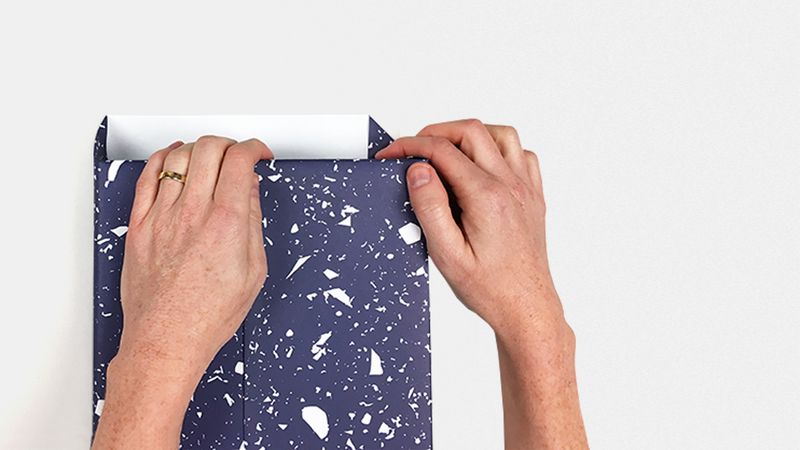
03.
Tightly draw your paper around the middle of your present, running your fingers in a pincer-like motion along the edges of your box as you go, and tape the two sides together. It’s important to always crease any folds and corners to create a really tailored “sharp” look to your wrapping.

04.
Time to tackle the ends. Fold down the top half of the paper so it’s flush with the gift, then carefully and neatly tuck in each corner, first to create “wings” before then folding these in again to create two triangles (they should be at 45 degrees to your present). With the open end at the bottom, fold in a 1cm flap to create a neat edge, before applying a strip of tape and tightly folding up and sticking it all together. Repeat at the other end and you’re nearly there.

05.
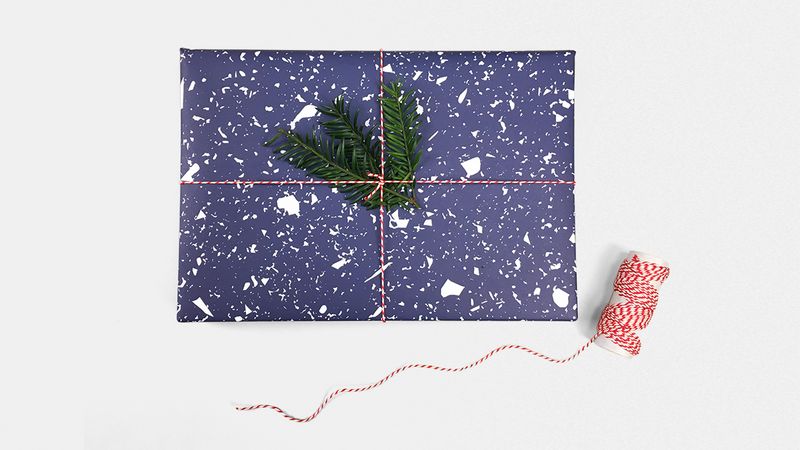
The final step is to add a finishing flourish to your gift, being sure to choose colours and styles that compliment your wrapping paper and add some flair. The world is your oyster here – ribbons, bows, gift tags, coloured strings and sprigs of festive foliage. If you’re feeling creative, then try making something a little more sculptural – cut a 2cm wide strip of paper from your leftovers, stick one end down to the top of your present, then using the natural springiness of the paper twist in two or three loops before sticking down the other end to your present.
ALL WRAPPED UP
Keep up to date with The Daily by signing up to our weekly email roundup. Click here to update your email preferences